 CUPNORA
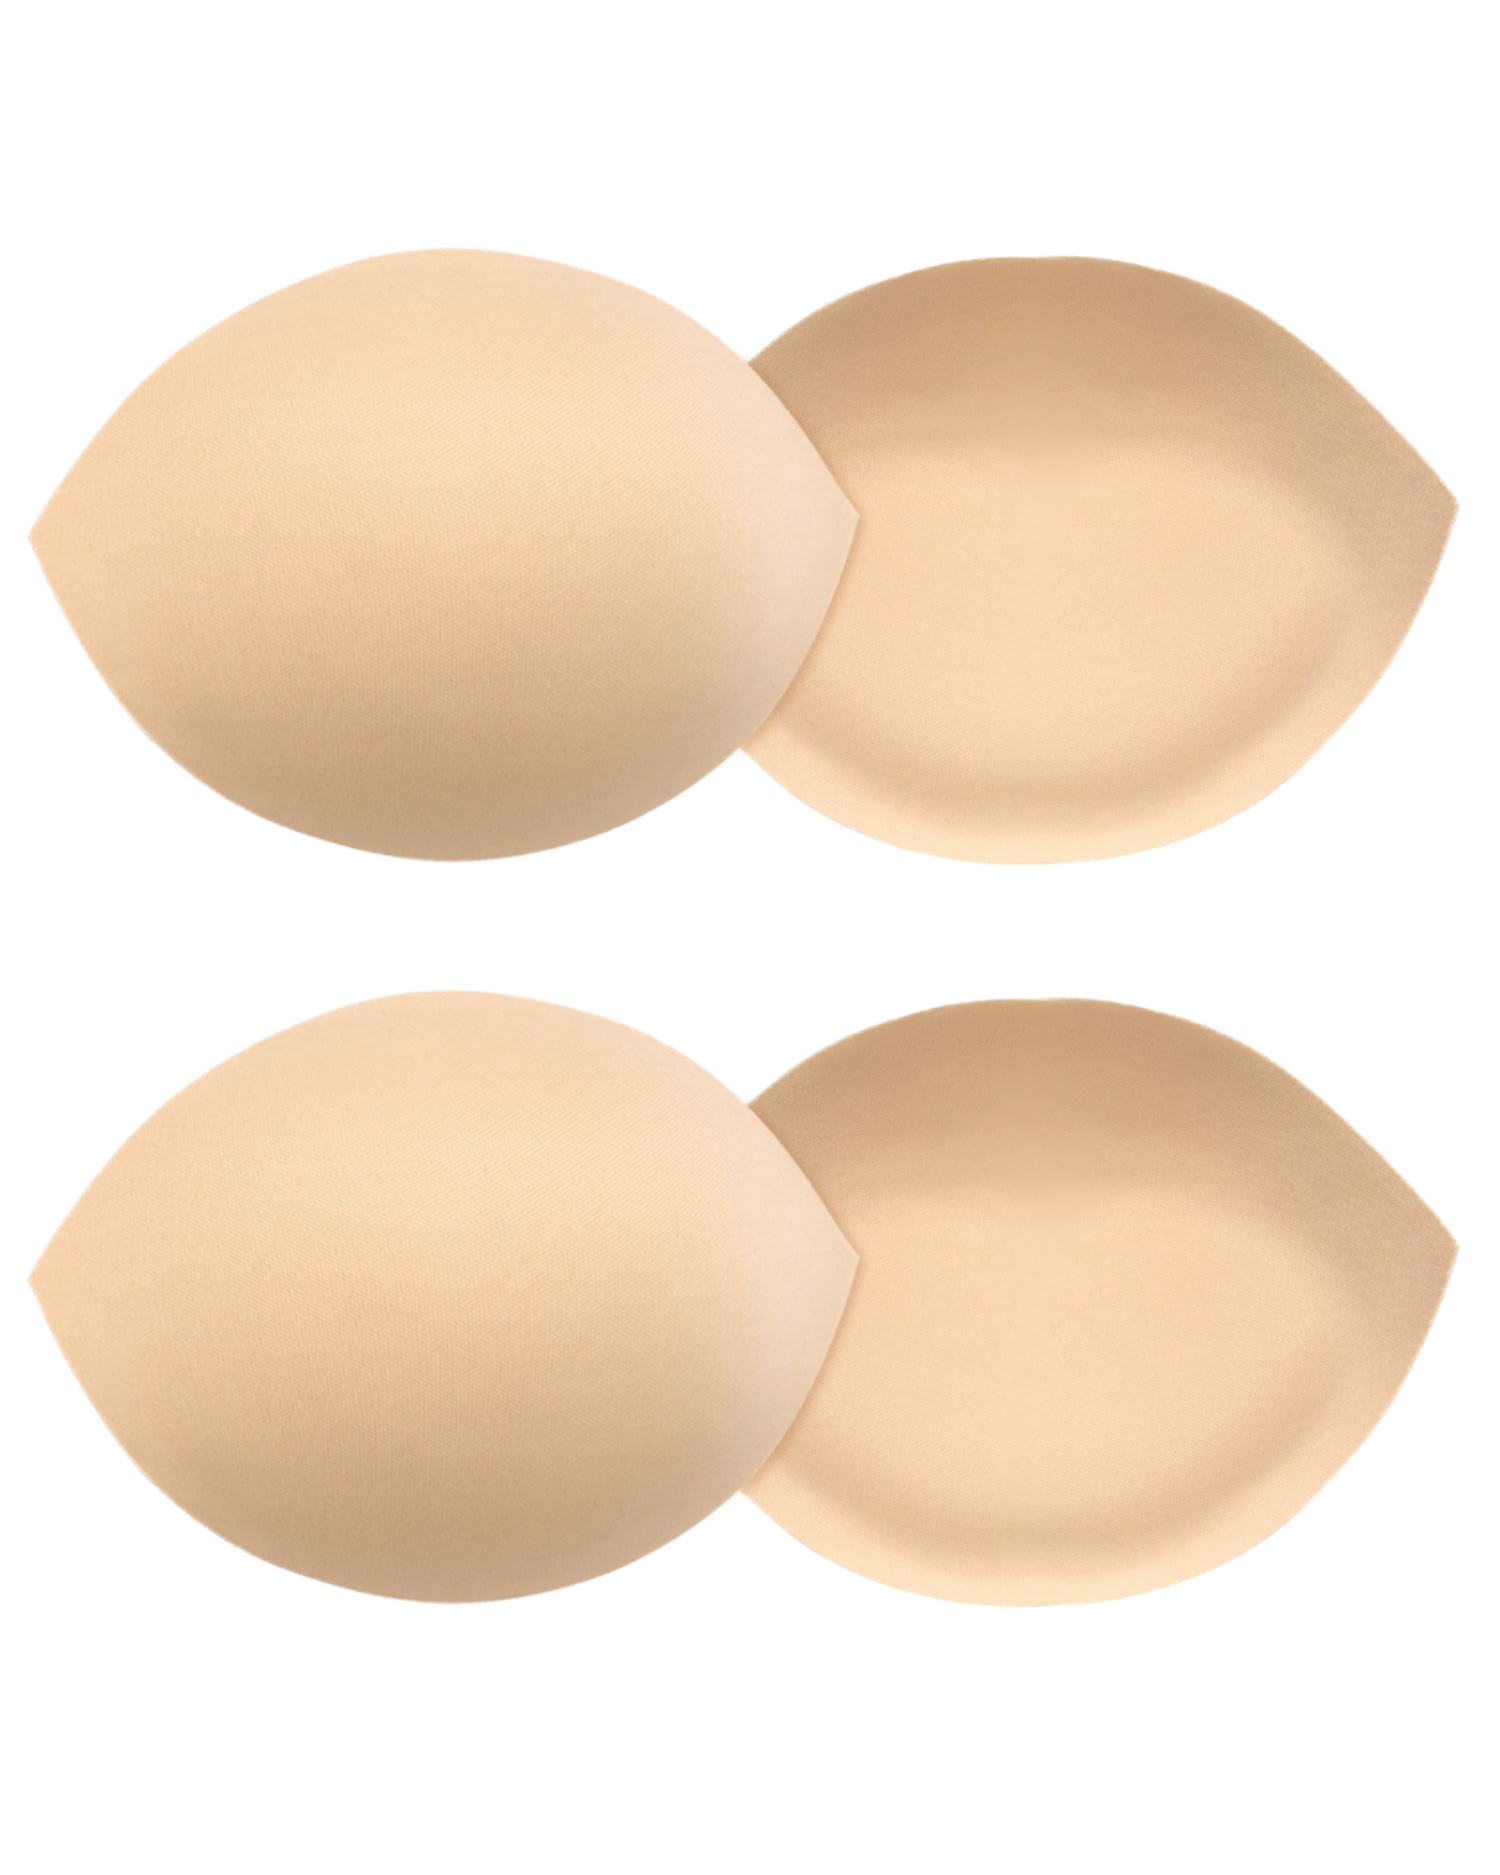
JH160.42cm
Bra Cups for Dresses (Fixed, 0.42 cm, Foam) · JH16 · 1601950988436
ID 1601950988436
Reference priceUSD 0.40–0.95 / pairMin. order 8 pairs
IN THE GARMENT / Occasionwear
For dresses and sewn-in constructions, cup coverage and edges matter under the outer fabric. Bring the neckline, pattern and attachment plan into the same brief.
Share your garment brief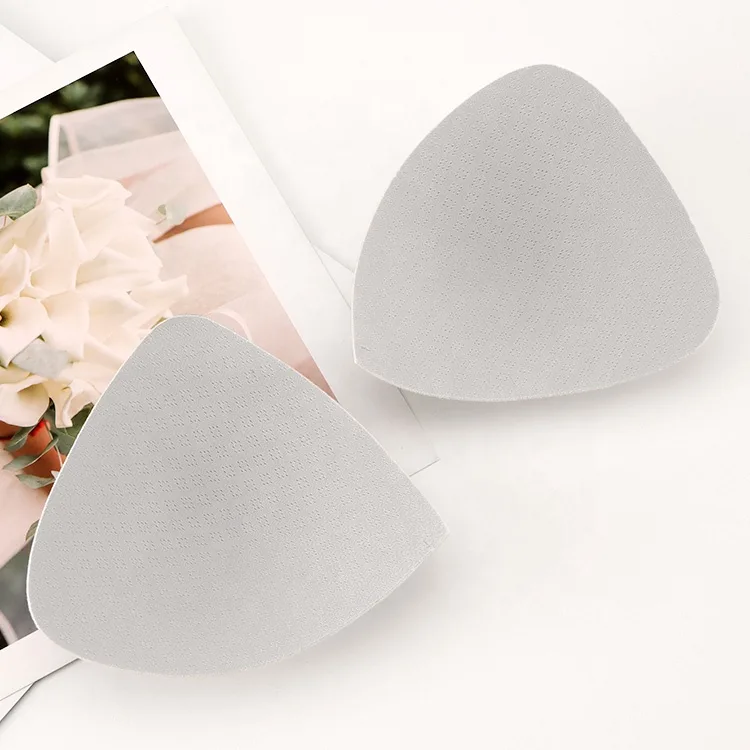
NIST lists 1 inch as 2.54 cm. A 4-inch straight line on a pattern therefore measures 101.6 mm. Mark the two endpoints and specify straight width or curved length on the drawing. The same endpoints can give different readings along a curved cup.
For bras sold in the EU, Annex IV allows the composition of the whole product or of specified components. For the component route, obtain the fibre percentages for the inner and outer fabrics of both the cups and the back. Ask the garment maker which route its label uses before approving a fabric change.
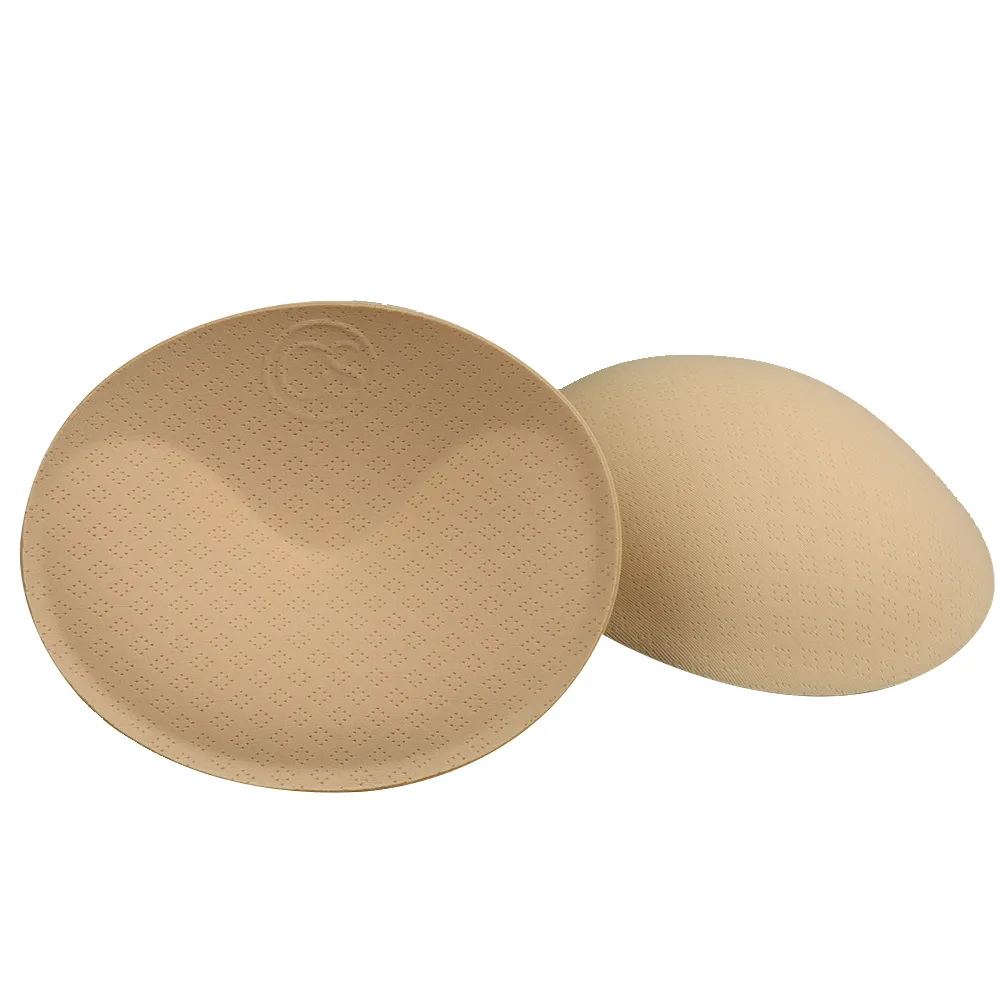
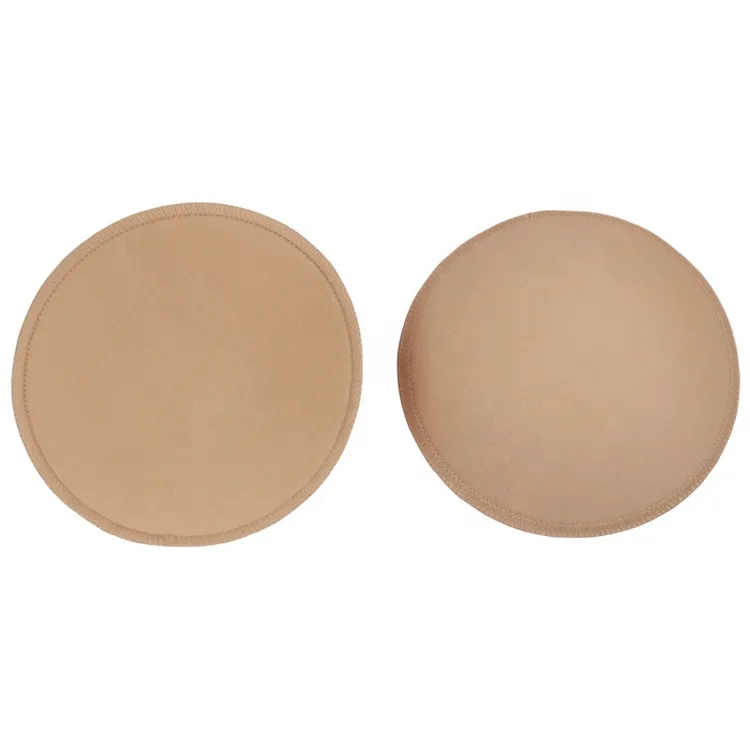
For occasionwear, the visible silhouette usually starts with the neckline and the internal support construction. Decide whether the cup will be sewn into a lining, mounted in a structured bodice or combined with another support method. Bring the actual outer fabric to the sample review: satin, lace and layered constructions reveal edges differently. The references below are selected from dress-related supplier wording. They are component candidates, not a promise that a dress will support every wearer without straps. Approve placement on the garment pattern before comparing thickness alone.
Require coverage that stays inside the intended neckline. Mark the top edge and centre position on the pattern and compare them with the cup outline. A component that looks modest in isolation may become visible at a plunge or asymmetric neckline. Inspect the garment from the intended viewing angles and through relevant movements before deciding that trimming the foam is an acceptable production solution.
Require a smooth transition into the surrounding fabric. Check the perimeter, seam allowance and any local thickening against the chosen dress fabric. A nominal central thickness cannot predict whether an edge will show through a satin panel. Ask the sample maker to reproduce the intended lining and attachment so the approved appearance belongs to the construction that will actually be produced.
Require an attachment that works with the bodice support plan. Cup placement, boning, lining and closures should be reviewed together. Agree where stitching or bonding is allowed and check that the attachment does not distort the cup opening. If a low back or strapless design changes the support arrangement, evaluate the complete garment rather than assigning the entire support requirement to the pad.
These are source statements, not independently tested performance results. Confirm the exact sample and acceptance method.
| Reference | Listed thickness | Material declaration | Stated application |
|---|---|---|---|
| JH16 | 0.42cm | Sponge with Cloth | Swimwear,Yoga Suit,Sport Underwear And Others |
| JHL666 | 1.3cm | Sponge With Polyester Cloth | Evening dress,Underwear And Others |
| JHL96 | Confirm with supplier | Sponge | Underwear |
| JHL548 | 1.2cm | Sponge With Polyester Cloth | Evening dress,Underwear And Others |
| JHL108 | 0.5cm | Sponge with Cloth | Swimwear,Yoga Suit,Sport Underwear And Others |
Avoid approving a cup on a mannequin and assuming the position transfers to every garment grade. Record placement references on the pattern and review how the cup position changes across the intended sizes. A supplier’s size letter does not provide those placement coordinates. Where the pattern information is missing, request it before translating a successful display sample into a production instruction.
Avoid solving a visible edge by adding more padding everywhere. The issue may be the edge profile, fabric tension or attachment line rather than overall volume. Compare the suspect area on a properly assembled sample, then request a specific component or construction adjustment. Keep the rest of the approved silhouette as a reference so one correction does not create a new outline problem.
Avoid treating sewn-in and adhesive references as interchangeable. Their attachment, care and replacement questions differ, and the dress lining may not accommodate both. Describe which surface the component contacts and how it is secured. If skin-contact adhesive is involved, request the relevant product information separately; a dress-related keyword does not establish adhesion duration, skin suitability or safe reuse.
Explore the bra-cup collection with your neckline drawing and attachment plan.
Selected by garment keywords in the supplier titles or stated applications. These references are a starting point for evaluation; confirm the fit and use requirements with samples.
ID 1601950988436
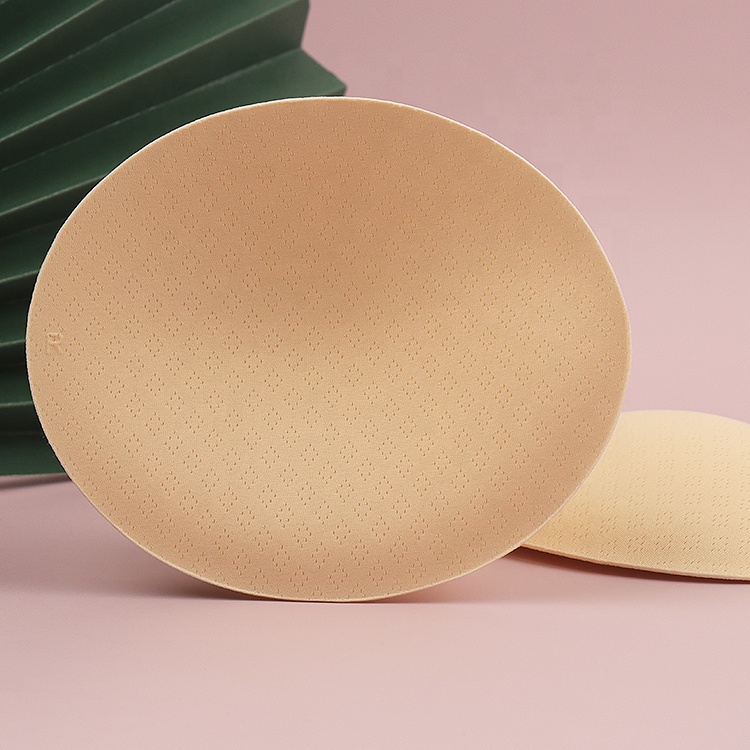
ID 1601679939278
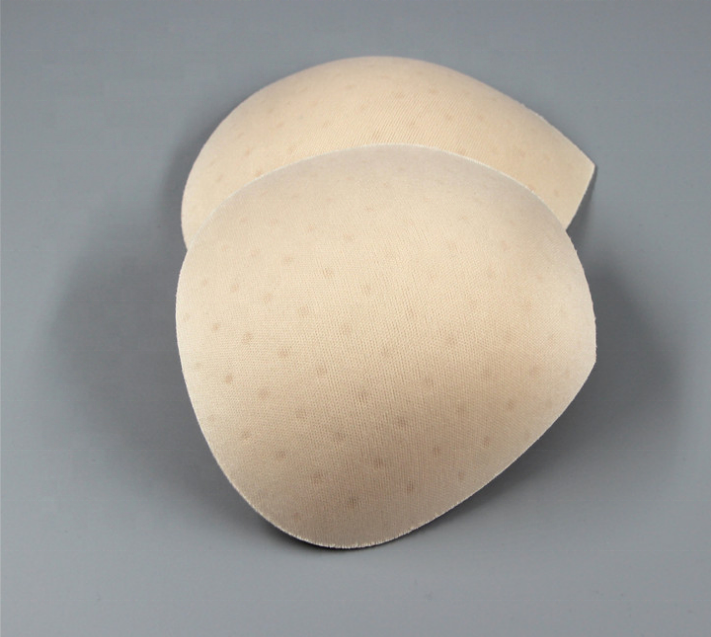
ID 1600344490576
ID 1600984265755
ID 1601951009594
SOURCING NOTES
Use the dress pattern and neckline to define coverage and cup depth. Mark the attachment area and seam positions, check how the edges appear under the outer fabric and approve a fitted garment sample. Sewing instructions depend on the actual construction.
Published by · Yiwu Jinhong Garment Accessories Co., Ltd. / CUPNORA
Content updated
Supplier records and owner-provided documents are identified where used. AI assists organisation and translation; source statements are not independent test results.
LET’S MAKE YOUR NEXT SHAPE